The Protractor Template
Protractor Template paper (manila folders or other similar stiff paper)
Glue
Drinking straws
Tape
Pins (or other means of poking a small hole)
Pieces of string 20 cm long
Steel nuts
1. Glue the Protractor templatealong an edge of a manila folder making sure that the edge of the paper is square with the edge of the folder.
2. Cut around the outside of the protractor. Carefully remove any rough edges.
3. With a pin, poke a hole through the protractor at the center mark of the straight edge.
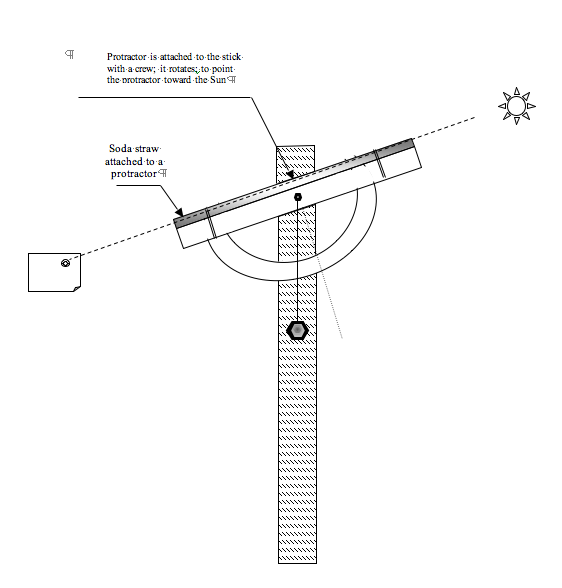
4. Tape a straw along the straight edge so that a little bit of the straw extends past each end of the protractor.
5. Push a string through the hole and tie a knot large enough so the string cannot pass back through the hole. Adjust the knot and string until the string swings freely along the face of the protractor copy.
6. Tie a nut to the free end of the string.
7. Check that the weighted string swings freely. If it does not, try tilting the clinometer slightly until the string can swing freely.

1. Light, temperature, and Sun angle measurements should be taken at the same location on the study site and approximately two (2) meters above the ground. Therefore, the three teams must identify an appropriate location at the study site. The Sun Angle Team must ensure that the Sun is not obstructed by trees or buildings at the agreed-upon location.
!!!! SAFETY ALERT: It is essential you never look directly at the Sun!
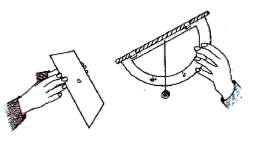
2. While one team member holds the meter stick, another team member should position the clinometer two (2) meters above the ground. A third team member should hold a blank piece of paper behind the clinometer. Again, do not look directly at the Sun!
3. Aim the clinometer at the sun and hold the paper behind the clinometer so that the tube of the clinometer casts a shadow on the paper. Hold the clinometer steady so that yet tube casts a dark, uniform, circular shadow on the paper and the light intensity of the Sun is focused in this circle. Make sure that the string moves freely.
 JBP
JBP
4. Each team member should make at least one measurement with one of the clinometers. Record each reading and the time and date it was made in your journals.
5. Average the readings from each observer to obtain your final reading. If there are large disagreements, discuss the readings. Could the readings differ because of variations in the clinometers themselves? Did they vary because of differences in how team members took their readings?
6. Check your final value to make sure it is reasonable. Remember, when the Sun angle is zero degrees, the straw is parallel to the ground. When the angle is 90 degrees, the straw is pointing straight up.
7. Submit your reading to the Global Lab database